Introduction to Wall Putty and Its Importance
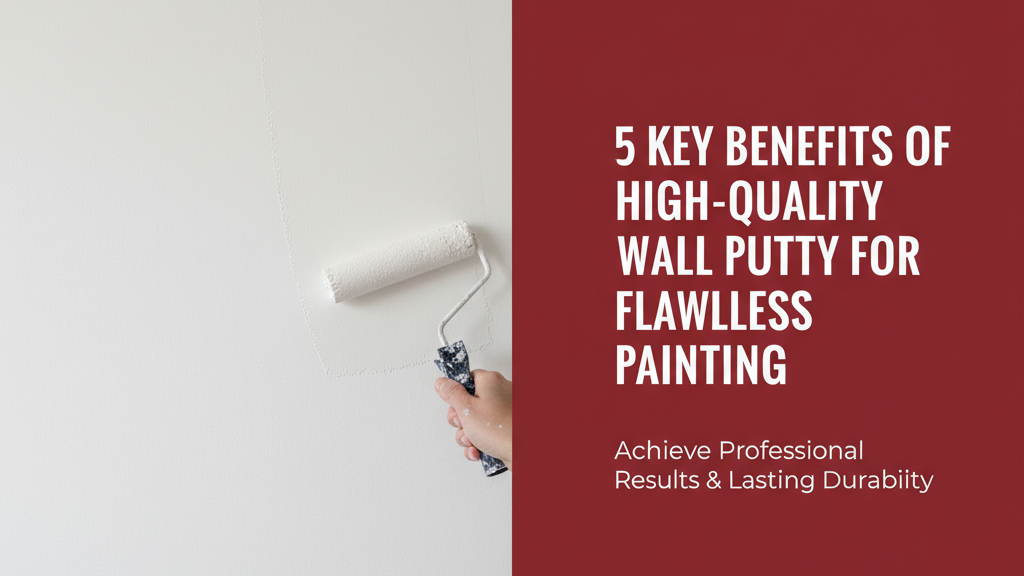
Wall putty is an essential component in achieving a durable and aesthetically pleasing paint finish. Acting as a preparatory layer between the wall surface and paint, high-quality putty fills minor cracks, evens out rough patches, and creates a smooth base that enhances the final appearance of your walls. Unlike traditional methods that rely solely on multiple coats of paint, modern wall putty offers a scientifically formulated solution to common surface imperfections, making it a preferred choice for homeowners and professionals across India.
Superior Surface Preparation for Painting
A flawless paint job starts with meticulous surface preparation. High-quality wall putty addresses common issues such as:
- Uneven textures: Minor bumps, pores, or roughness left by plastering can trap dust and create an irregular finish. Putty levels these inconsistencies for uniform paint application.
- Porosity variations: Different sections of a wall absorb paint unevenly, leading to patchy colouring. Putty standardises the surface’s porosity for consistent absorption.
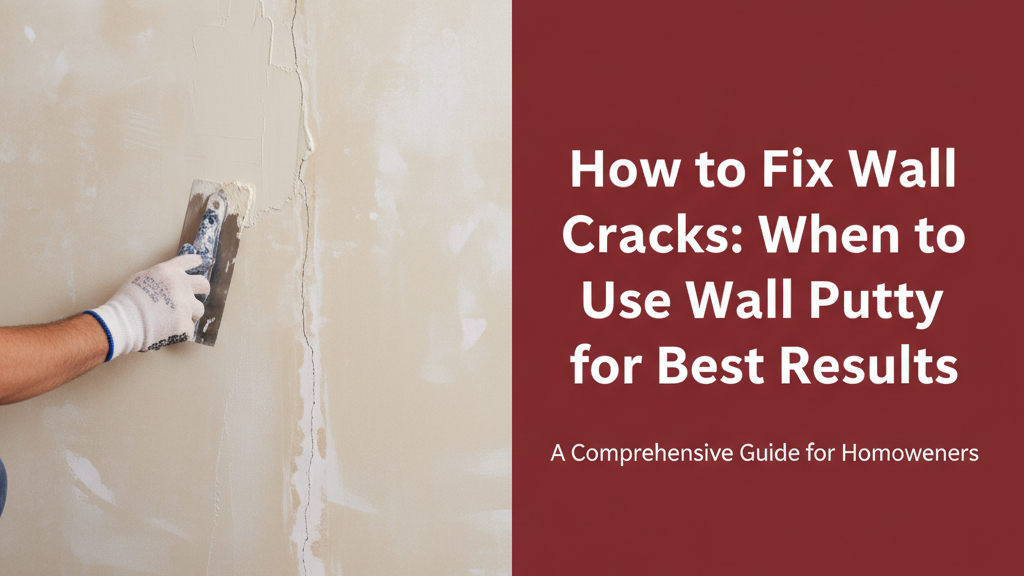
- Micro-cracks: Hairline cracks due to settling or temperature changes can worsen over time. Putty seals these cracks early to prevent future damage.
Properly applied putty also reduces the need for excessive sanding, saving time and labour costs during wall preparation.
Enhanced Paint Adhesion and Longevity
The chemical composition of high-quality wall putty is designed to form a strong bond with both the wall substrate and the paint applied over it. Key advantages include:
- Reduced peeling/flaking: Paint adheres more firmly to a putty-primed surface, minimising the risk of premature peeling—especially in humid climates or areas exposed to moisture.
- Extended paint life: A well-prepared putty base can prolong the vibrancy of paint by 30–50% compared to untreated surfaces, as per industry estimates.
- Better coverage: Smoother surfaces require fewer coats of paint, reducing material consumption while improving colour uniformity.
Preventing Common Wall Imperfections
Beyond aesthetics, wall putty serves as a protective barrier against environmental stressors prevalent in Indian conditions:
| Issue | How Putty Helps |
|---|---|
| Efflorescence (salt deposits) | Alkali-resistant formulations prevent white salt patches from seeping through paint. |
| Dampness-related blistering | Micro-pores in quality putty allow gradual moisture evaporation without damaging the paint film. |
| Thermal expansion cracks | Elastic polymers in advanced putties accommodate minor wall movements caused by temperature swings. |
These properties make putty particularly valuable in coastal regions with high humidity or areas with extreme seasonal temperature variations.
Cost-Effective Solution in the Long Run
While skipping wall putty might seem like a way to cut costs initially, the long-term savings justify the investment:
- Reduced repainting frequency: Quality putty extends the interval between repaints from 2–3 years to 4–6 years for interiors, depending on environmental conditions.
- Lower repair costs: Addressing cracks or dampness early with putty prevents costly structural repairs later.
- Minimal touch-ups: Walls retain their appearance longer, reducing spot repairs in high-traffic areas.
For optimal results, experts recommend using ISI-marked putty that meets IS 15477 standards for composition and performance.
Choosing the Right Wall Putty for Your Project
Not all putties are created equal. Consider these factors based on your project requirements:
- Wall type: Cement-based putties suit concrete and brick, while acrylic variants work better on gypsum or previously painted surfaces.
- Climate: In high-rainfall areas, select putty with water-resistant additives to prevent dampness absorption.
- Finish: Fine-grade putties (particle size under 50 microns) deliver ultra-smooth finishes for premium paint jobs.
Always check for manufacturer guidelines regarding coverage (typically 20–35 sq. ft. per kg for a 1mm layer) and drying time (usually 4–6 hours between coats).
Application Tips for Best Results
Proper technique enhances putty performance. Follow this checklist:
- Surface cleaning: Remove dust, grease, or loose particles with a wire brush or damp cloth before application.
- Priming (if required): Some surfaces benefit from a primer coat before putty to improve adhesion—consult product specifications.
- Consistent thickness: Apply putty in thin, even layers (1–1.5mm) using a steel trowel. Thicker applications may crack during drying.
- Curing: Allow each layer to dry completely as per manufacturer instructions before sanding or painting.
- Final sanding: Use 180–220 grit sandpaper for a smooth finish, removing any trowel marks.
Conclusion: Why Quality Matters
High-quality wall putty isn’t just an optional extra—it’s the foundation of a durable, visually appealing paint job. By investing in the right product and applying it methodically, you mitigate common painting challenges while extending the lifespan of your walls. Whether you’re a homeowner renovating a single room or a contractor handling a large project, understanding these benefits ensures informed decisions that balance immediate results with long-term performance.


