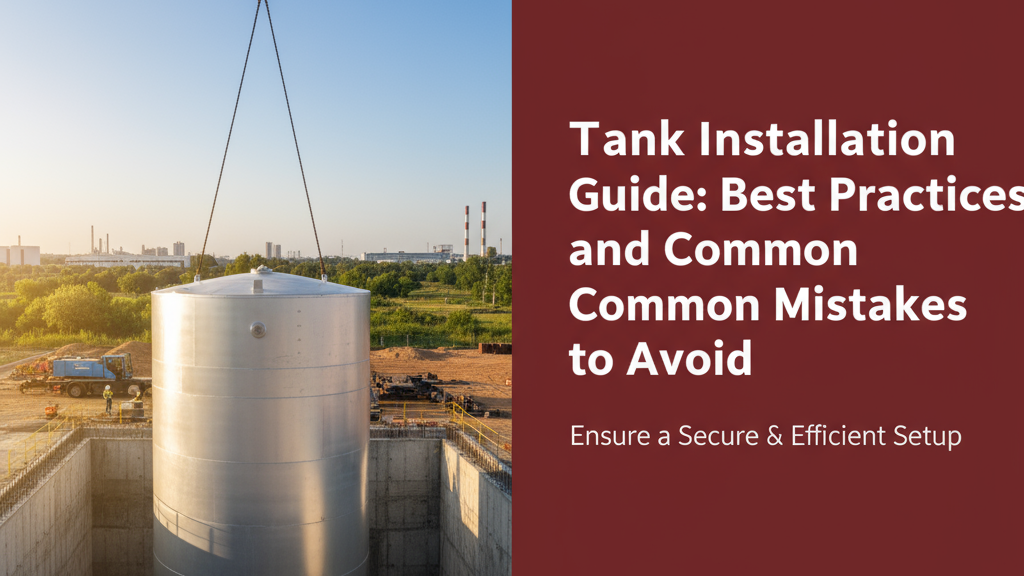
Introduction to Proper Tank Installation
Installing a water storage tank correctly is crucial for ensuring its longevity and optimal performance. While it might seem straightforward, overlooking key details during installation can lead to structural issues, leaks, or even premature tank failure. This guide covers best practices for tank installation while highlighting common errors to avoid, whether you’re a homeowner attempting a DIY setup or a contractor overseeing a project.
Planning Your Tank Installation
Before purchasing or installing a tank, consider these factors:
- Capacity requirements: Estimate daily water usage and choose a tank size that accommodates your household or building needs, accounting for seasonal variations.
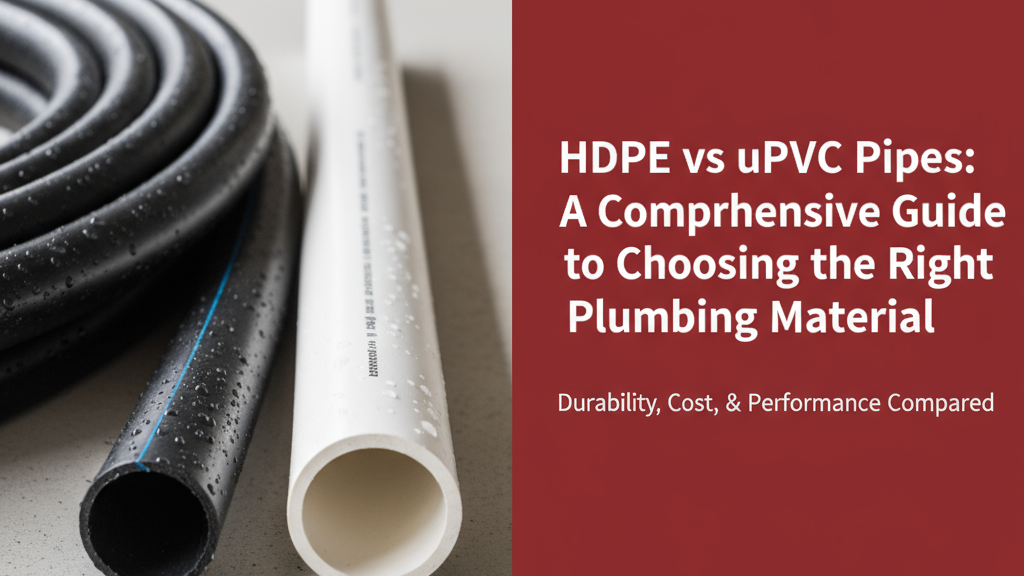
- Material selection: HDPE and uPVC tanks each have distinct advantages – evaluate UV resistance, weight, and durability based on your local climate.
- Regulatory compliance: Verify that the tank meets relevant BIS standards for material quality and structural integrity.
Choosing the Right Location
The installation site affects maintenance access, water pressure, and structural safety:
- Load-bearing capacity: Rooftop installations require verification of the structure’s ability to support the weight when full (1 litre = 1 kg).
- Sun exposure: In hot climates, shaded areas help prevent algae growth and reduce heat-induced material expansion.
- Proximity to usage points: Position tanks to minimise pipe runs while avoiding locations where leaks could damage property.
Preparing the Site
Proper site preparation prevents future problems:
- Base construction: Create a level, stable foundation using reinforced concrete (minimum 100mm thickness) or compacted gravel for smaller tanks.
- Clearance space: Allow at least 300mm clearance around the tank for inspection and maintenance access.
- Debris removal: Eliminate sharp objects or uneven surfaces that could damage the tank base.
Essential Tools and Materials
A properly equipped installation requires:
- Spirit level (minimum 600mm length)
- Measuring tape
- Pipe wrench and PVC cutter
- Stainless steel clamps
- Thread seal tape
- Rubber gaskets and washers
Step-by-Step Tank Installation Process
Laying the Foundation
- Mark the installation area with 50-100mm extra space on all sides
- Excavate and level the ground, accounting for proper drainage
- Pour concrete base or prepare a compacted gravel bed
- Allow concrete to cure fully (typically 7-10 days)
Positioning and Levelling the Tank
- Place the empty tank carefully on the prepared base
- Use a spirit level to check for levelness in all directions
- Insert shims under the tank if minor adjustments are needed
- Secure the tank according to manufacturer guidelines
Connecting Pipework and Fittings
- Install inlet/outlet pipes with proper slope (minimum 5mm per metre)
- Use Teflon tape on threaded connections
- Securely fasten all clamps without over-tightening
- Test connections with partial water filling before final positioning
Common Pitfalls in Tank Installation
Poor Site Preparation
An unstable or uneven base is the leading cause of tank failure. Many DIY installations fail to account for:
- Soil settling over time
- Changes in ground conditions during monsoons
- Insufficient concrete curing time
Incorrect Tank Positioning
Common errors include:
- Placing tanks too close to walls or obstacles
- Failing to account for future maintenance access
- Installing tanks where they bear excessive wind loads
Faulty Sealing and Connections
Leak points often develop at:
- Threaded fittings without proper sealants
- Over-tightened connections that crack plastic fittings
- Improperly aligned pipe connections causing stress points
Maintenance Tips for Longevity
Regular maintenance ensures optimal performance:
- Clean the tank interior every 6-12 months
- Inspect and clean inlet filters quarterly
- Check for cracks or stress points annually
- Flush sediment from bottom outlets seasonally
Conclusion: Ensuring a Successful Tank Installation
Proper water tank installation requires careful planning, precise execution, and routine maintenance. By following these guidelines and avoiding common mistakes, you can maximise your tank’s lifespan and ensure reliable water storage for years to come. Remember that small investments in proper installation techniques pay long-term dividends in performance and durability.